图:www.pixiv.net/artworks/93659275
前言#
恢复专栏写作!!!
翻了一圈国内互联网,没有看到关于修改 DDR 软垫子的教程,于是打算自己写一篇。
我是在年初的时候买了我自己的第一个软垫,但是玩的强度确实比较大,没到一周就坏了。
然后再买了一个,然后又坏了。
唉,本来想咬咬牙上上脚台的,但是第一没地方放,第二价格也比较高。就在这时,我在 reddit 上看到了DDR PAD 的推荐教程,在这里我看到了你可以将 DDR 软垫进行简单的魔改就可以极大提升了我的游玩体验,在自己进行了一次魔改以及一段时间的体验后,我打算写一篇专栏来给各位推荐一下这套方法,以及写一些使用上的体会和心得。
首先我也不是很厉害的 DDR Player,在体验魔改的垫子前我大概也就只能跳 9 级 PASS,但是在体验的第一天我就可以跳 10 级 11 级的曲子了(当然水平还是很菜)。
好处都有啥#
那么为什么要改装软垫
- 首先改装软垫,可以极大的提升垫子的使用寿命(为什么垫子容易坏我经过一些调查和拆解研究也得出了一些结论放在最后)
- 让垫子更稳定,更容易在上面跳,这点其实对你跳 DDR 来说提升特别大的,没有了会皱巴巴到处滑动的垫子,会极大极大极大的提升了你的水平
这篇指南可能无法涵盖到所有的内容,很多事情其实你上手之后就自然而然能理解了,所以最好的方式就是把这篇指南看一遍,自己买了材料动手去做,如果有任何的疑问,可以评论区问我。
我在制作的时候参考了 DDR Soft Pad Modification By Penguinlord (https://www.angelfire.com/pro2/softpadmod/) 以及 DDR Soft Pad Modification Tutorial(https://www.youtube.com/watch?v=Soem9tnzeG0), 专栏里我忘记拍的图我也会从里面截出来,感兴趣也可以看看这两个。
买材料!#
买的材料大概需要以下几种:
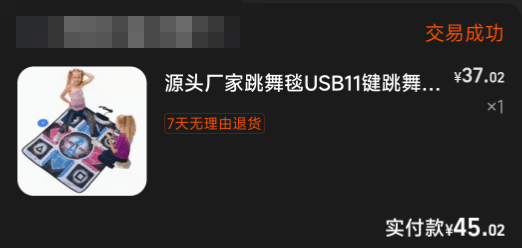
- 软垫:淘宝上的软垫大概价位在 40 到 100 多左右,我只买过两三个,所以说没办法保证,哪些软件质量好的?哪些软件质量差的?但根据我的观察,他们卖的估计是同一款,所以挑便宜的买就行了
- 木板 100cm * 90cm * 1.5cm:最好的最好直接去你附近的木材,商店或者五金店看看有没有买合适尺寸的,甚至如果你住所比较偏僻的话,你可以去捡一块能用的就行了。
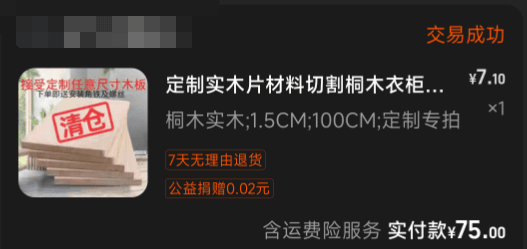
好贵
- 装饰胶带:这种胶带你就去淘宝买一卷大捆的,一卷五六块包邮的就可以了,颜色什么的就你自己看着办。

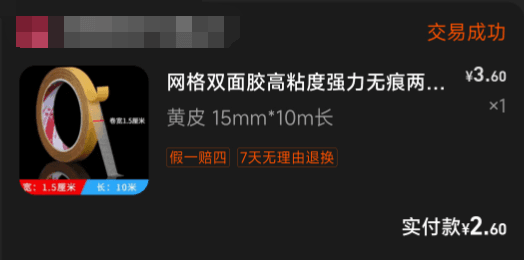
- 双面地毯胶带:这种胶带后面会拿来加你的软垫固定到木板上,不过大部分买的地毯胶带粘度都是够用的,最好买稍微宽一点的。
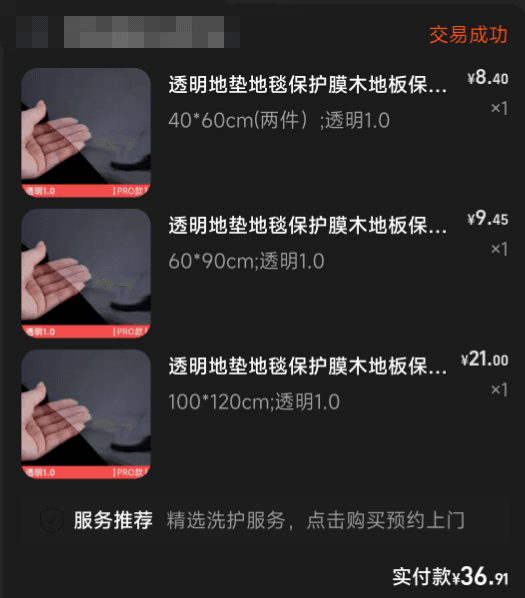
- pvc 保护膜:这种我买的是那种经常吃喜酒宴会上的那种透明乙烯基桌布,当然好像那种地板保护膜也不是不行,我没有试验过,买相对薄一点的就可以了,不过建议最好多买点留有余量。怎么买划算你可以自己看着算一下
你需要:
- 一张至少 100cm * 110cm (也就是左右各多木板 5cm 左右) 的用来覆盖在垫子上方
- 八张 23 * 28 的垫子用来垫在软垫下方(如果你觉得太低的就需要 12 张,所以最好买多点)
- 单面布基胶带:用来加 PVC 保护膜制成的垫子固定在木板上

除此之外,你还需要有些工具,如果没有的话,最好也是去附近五金店或者淘宝买
- 质量比较好的钉枪,因为是要把钉子钉到木头里面,所以最好买强度大一点的
U 型和门型都可以
-
锤子负责把没订进去的订书钉敲下去
-
卷尺或者尺子,用来测量长度
-
铅笔用来做标记
-
如果木板的尺寸不对的话,你还需要一个能切木板的工具

以上大概是我修改一个 ddr 软垫要用到的东西,如果要做两个垫子的话,一卷胶带估计也是很够用的
开始修改!#
开始之前#
首先把你的垫子拆出来,插入电脑测试一下它是否能够正常工作,全部按键是不是都有响应,如果你全部装好了之后再进行测试,结果不能正常使用的话,你就
嗯
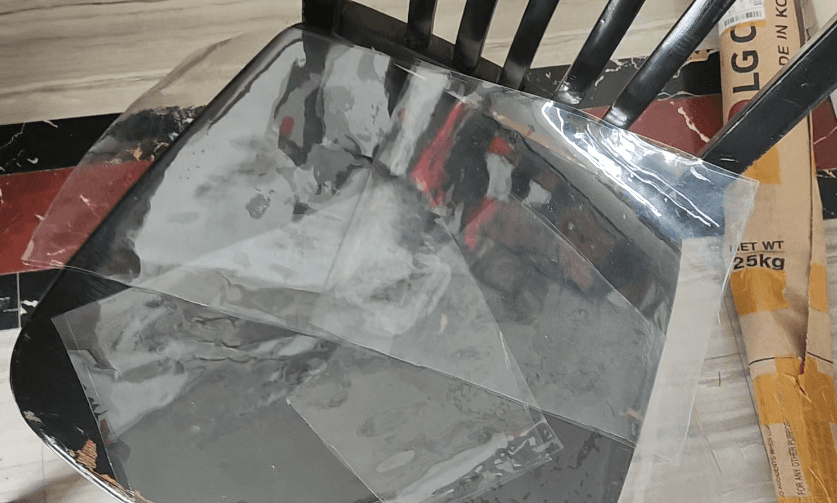
拿出你的大保护膜,这个保护膜主要是有两个用处,第一个是覆盖在垫子上对垫子起到一个保护,以及增加摩擦力,还有一个就是在垫在每个箭头下面制造一些凸起,这样可以帮助你在跳的时候感觉到箭头的位置,刚开始跳的时候可能会有一点不适应,但是当你熟悉之后会非常有帮助。
首先将你的打开 PVC 薄膜平铺在木板上,大概上下左右最好都留有五六厘米的余量,当你确定你买的尺寸是正确的时候,把他收起来先
切割 PVC 凸块#
拿出剩下的保护膜,将其切割成 23×28 厘米的正方形,你要八个这样大小的凸块,每个箭头下面两个。当然,如果你觉得两个还是有点太平的话,你可以加到三个,这些垫子的作用是让你的脚能感受到箭头的位置
剪好之后,你需要将凸块两两(或者三个)合在一起,由于 PVC 的作用他们会粘在一起,当然如果你觉得不够黏住的时候你可以用胶带粘住
定位软垫#
接下来拿出你的 DDR 软垫,将其展开放置在木板上压平,最好是在上面多放一段时间,让它受到重力的影响,完全摊平,然后拿出铅笔标记一下软垫所在位置,这样你的垫子不小心移位的时候你可以将它复原。

固定凸块#
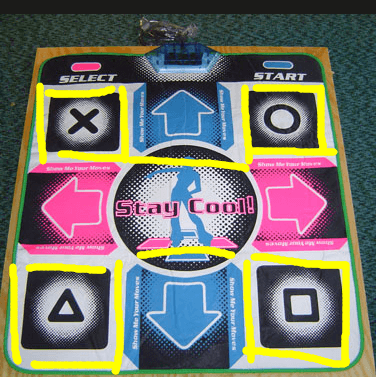
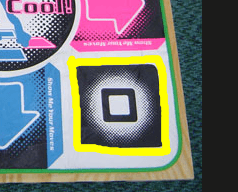
接下来你要加两个或者三个点切割下来合在一起的凸块,对齐到板子的箭头正下方。
我是这样做的:把软垫放在木板上,然后将保护膜滑动进去进行对齐(对齐差不多就保护垫的中心对齐箭头的中心),当你感觉差不多到正确的位置时候,抬起垫子,然后用胶带将它们粘在木板上


当你将一个方块粘贴完毕之后,将垫子准确的放在原来的位置上,对齐你之前画过的参考线,这样当你放下一个箭头的时候,第一个箭头不会滑动,以此类推,将四个箭头下面全部垫好保护膜薄片

固定软垫#
接下来就是要将软垫粘贴到板子上了,这个有一点点复杂,首先你要确保你的软垫在木板上完全的伸展,没有太多的褶皱,在另外的四个方块下面,以及中间的那个方块,粘贴一圈的地毯胶带。
大概这些
你可以顺着白边贴
注意不要将地毯胶带放在箭头本身下方,一是容易误触以及脚感不好,第二就是你要是要把软垫拿下来的时候会很麻烦。
我的建议是从上往下先粘贴上面的两个,接着粘中间的那个,再粘贴下面的两个。注意,不要让地毯胶带粘到你的箭头下方,第一是他有可能会造成你的脚感有差别,并且容易造成误触,另一方面,如果你想要把软垫从木板上面取下的时候不会损伤箭头下面的软垫。

当你将软垫完全固定在木板上的时候,可以稍微测试一下,但注意不要太过用力。

固定 PVC 薄膜#
接下来就是覆盖最上面的一层的保护膜了,首先将 PVC 薄膜铺在你的软垫上放,你会发现上方的控制盒有点碍事,家里的保护膜剪开一个缺口,以让你的控制盒通过。

首先撕下一小块胶带将保护膜固定在木板上
然后你就可以开始订订书钉了,你可以选择将其钉在侧面

但是我觉得这样子有点不好发力,所以我选择了订在正面,但注意如果你的木板底部下方,还有余量的话你也需要将它们固定住或者干脆将它们剪掉。最后体验上我是感觉不出来,钉在上面上的那些订书钉。如果你的钉子不能完全进入木板的话,这时候就要你的锤子出场,把他们全部锤进去了

我的建议是沿着顺时针或者逆时针盯一圈,当你开始钉的时候注意将保护膜捋直,你不希望到时候跳的时候毯子上皱皱巴巴的,当然也不要绷得太紧,将会导致你踩一个按键,可能会连续触发多个按键。大概绷紧的时候稍微松一点点就够了。

当你钉到四角的时候,你会发现保护膜会多出来一块,你就拿剪刀把它剪掉,让你的保护膜能够完全贴合你的木板
钉钉子的间隔大概隔个五六厘米钉一颗就可以了,当你钉完的时候,把多余的部分剪掉,连接电脑测试一下功能是否完全正常
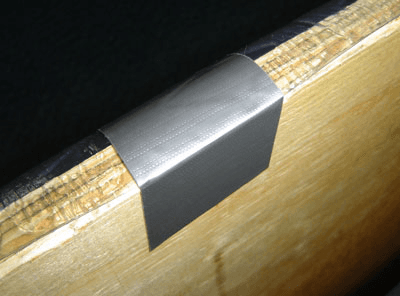
装饰#
最后就是装饰部分了,拿出你的装饰胶带,沿着木板贴上一圈加木板的部分和钉子,完全覆盖住,不要将胶带贴在你的垫子上方

完成!!
体验#
经过我的一周体验,确实不跑了,我发现脚感也好了很多,最开始我是尝试过赤脚穿袜子和穿鞋,最后对于我来说穿袜子的摩擦力正好大,光脚和穿鞋的摩擦力有点太大了,当然这可能因人而异
将两个薄块合在一起垫在下面,对我来说稍微有一点点矮,不过我想如果接了三个,可能就有点高了
噪音相对于软垫那种垫子扭来扭去的声音,修改过后的声音虽然没有变小,但是更加低沉,你也不太容易注意的到,而且加上中间有两层缓冲,扰民的程度也大幅度下降了.
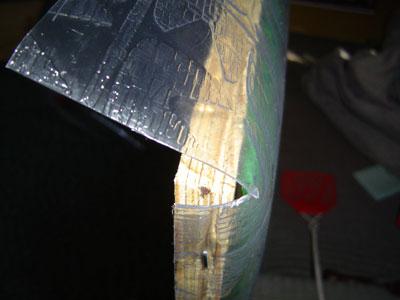
软垫的问题以及一些解决方法#
原本的软垫,最最常见的损坏就是下键不能跟其他的箭头一起踩,否则下箭头就会不灵
造成这个原因,经过我的拆解结合网上的一些实例及猜测,从下箭头到控制盒的线路断裂了,基本上出现这种情况,是因为下箭头的内部线路沿着软垫的中心点往外延伸,当你玩了几周之后,因为下箭头的线路是最长也是最容易断裂的,线路开始出现小幅度的断裂,这就导致信号不能很好的传递到控制盒。
如果你在魔改软垫的时候,你需要的是尽量将段子和你的保护垫捋直,这样子能最大程度的减少软垫的移动来避免里面线路的断裂。
当然,如果这个问题还是不可避免的发生的,你可以选择将软垫拆下来从背后,小心剪开背面的橡胶垫,接一条电线从下箭头到控制板,当然,一个垫子就三四十块钱,你也可以选择再买一个,不过拆开来看看跳舞毯的工作原理还是很有意思的
祝你玩的开心